Showing posts with label card making. Show all posts

Wednesday, May 28, 2014

"You Light Up My Life"

Hello there, blog world!

It has been a busy, busy week for me so far. Getting ready for my summer class to start next week. I am taking classes to further my nursing career. It's going to be a crazy year, but I am ready!!

Also, over the next couple of days I will be baking for a bake sale for our youth group. The bake sale is Saturday, so I have a lot of work to do! I will share with you this weekend what I made for the sale. Stay tuned for all the goodies and the recipes!

Tonight I have a card to share. This card was made for the photo/color challenge over at the Peachy Keen Stamps blog. I used a sentiment and the lightening bug from the May stamp release. I was inspired by the bright colors in this photo.


I made this card a little different. I used a flattened toilet paper roll to make a pocket card. I didn't take a picture of the back of the card, but I just wrapped the paper all the way around. Then I folded the bottom of the paper up and glued it down (like wrapping a present) to seal off the bottom. The top of the polka-dot paper is folded down into the opening of the roll and glued to make it look neat and finished. I used a circle punch to cut the half circle notch at the top of the card, so the tag can be pulled out. The tag is made out of a cereal box and is covered in card stock. Take a look and let me know what you think.
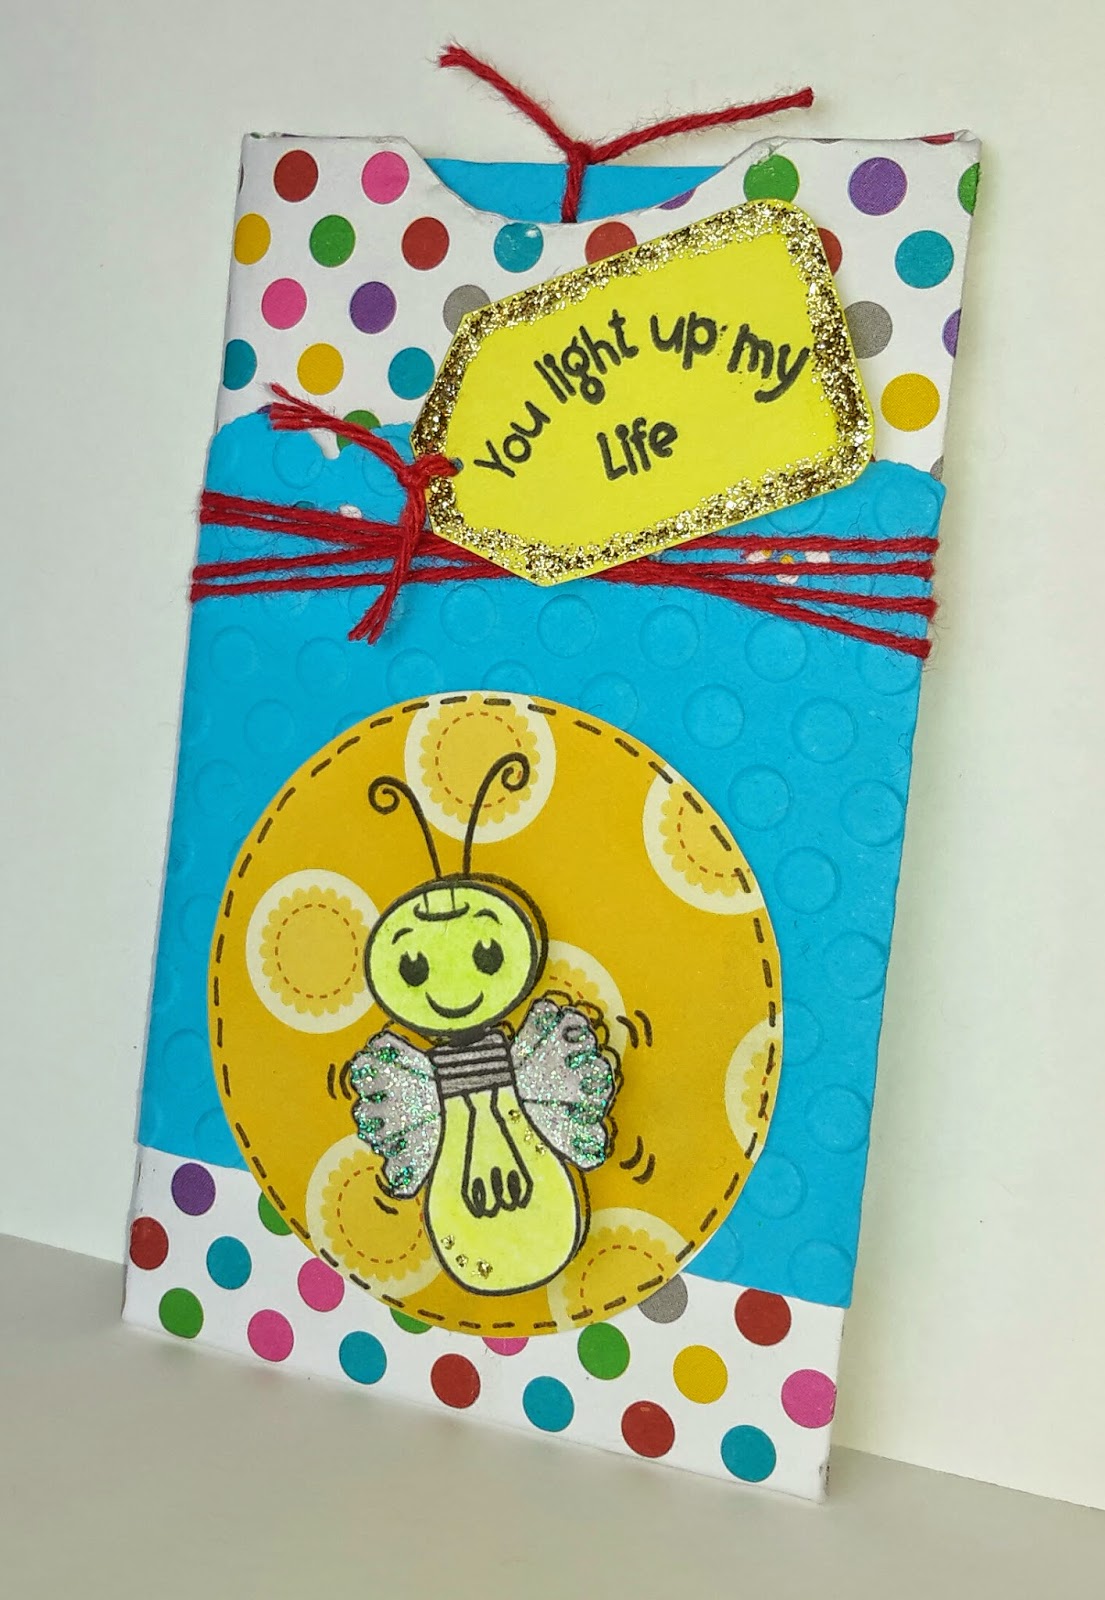


I love making things with toilet paper rolls because you are re-purposing it instead of throwing it out. I have made a couple mini albums before using flattened toilet paper rolls as the pages. It works so well! As you save the rolls, the best thing is to store them flat. Fold them flat and keep them under a big, heavy book, or clipped together with binder clips.  Then when you are ready to use them, they are nice and flat.

Hope everyone is having a great week!! Come back this weekend and check out how the bake sale went.

Wednesday, May 14, 2014

Peachy Keen May Linky Party

Hello folks! I am joining the PKS blog linky party for the first time. You have to make a project using something from the new May release stamps. I just so happened to win two of those sets for free! This is one of the sets I won:


Find it here
Isn't it so fun?!

I decided to make a cute little birthday card with these stamps.  They are so adorable! I started with kraft card stock as the base. I used some patterned paper as the background.  The banner on the side is stamped with the cute phrases in the set and embossed with black powder. I love the effect this gave it, it looks toasty! I used colored pencils to color the stamped raccoon and fire. Then on the inside I stamped the rest of the cute sentiment. 
So what do you think?


Tuesday, May 13, 2014

Inky Antics HoneyPOP Card

I discovered something new at Michael's last week. And I had a coupon.....bonus!!

Inky Antics is a company that makes stamps. They have this paper called HoneyPOP.  It's honeycomb paper to add 3-D effects to your crafting. Also, they have many stamp sets that go with this paper. The stamp sets can be used by themselves or they have a template stamp to stamp on the HoneyPOP paper to make the 3-D object. 

I only got one set so far. It is a turtle and some cute little birds. These stamps are so much fun!! As you can see in the picture there is a shell stamp to use if you are not using the template with HoneyPOP paper, which is what I did for the first card.

InkyAntics.com

Are you ready to see the super cute card I made with these stamps?


The sentiments that come with these stamps are so cute. You can go to the site from the link above and look at all the available stamps in the HoneyPOP collection. 

I made a 5x5 square card. I colored the stamped images with colored pencils and used a colorless blending pencil to blend the colors. I embossed the grass with the Cuttlebug swiss dots folder. Then I put it all together.

I made an alternate for the inside of the card using the HoneyPOP paper, to show you how it works. For this to work you score your card in the middle about 1/4" apart, this makes room for the thickness of the HoneyPOP paper shape.
Score the fold so it has a 1/4" section in the middle
Here is what the finished product looks like. I know the lighting isn't great, but I hope you can see the 3-D effect it adds. So fun!


Friday, May 9, 2014

Three Days of Mother's Day Cards

Day 2


Ready for the second card? 

This was a little more difficult. I had some papers that I wanted to use for the colors, I just had to figure out what to do with them. So I ended up punching the circles with a circle punch and layering them on the card. I stamped the pattern on the purple paper across the top. The sentiment came from Stampin' Up I believe. It was stamped with versa ink and embossed with silver. 

What do you think?